Veeam: Difference between revisions
No edit summary |
|||
| Line 24: | Line 24: | ||
</syntaxhighlight> | </syntaxhighlight> | ||
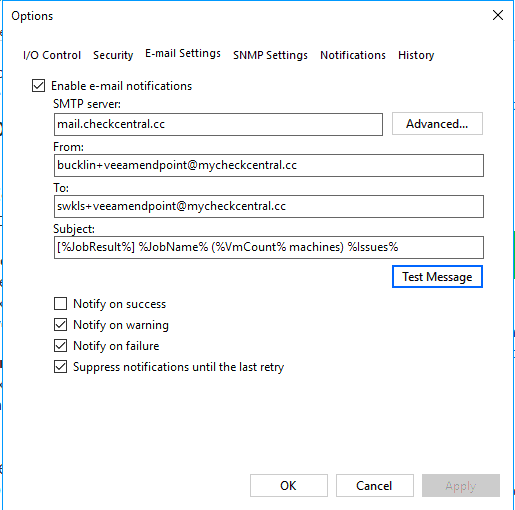
==Veeam BR Email Settings== | ==Veeam BR Email Settings== | ||
[[File:Veeam br email.png|frame|left|veeam email settings]] | |||
[[Category:Windows]] | [[Category:Windows]] | ||
Revision as of 19:45, 26 March 2020
Warnings Due To VM Config Version
Step 1: Check the virtual machine configuration versions
On the Windows desktop, click the Start button and type any part of the name Windows PowerShell. Right-click Windows PowerShell and select Run as Administrator. Use the Get-VMcmdlet. Run the following command to get the versions of your virtual machines.
Get-VM * | Format-Table Name, Version
You can also see the configuration version in Hyper-V Manager by selecting the virtual machine and looking at the Summary tab.
Step 2: Upgrade the virtual machine configuration version
Shut down the virtual machine in Hyper-V Manager. Select Action > Upgrade Configuration Version. If this option isn't available for the virtual machine, then it's already at the highest configuration version supported by the Hyper-V host. To upgrade the virtual machine configuration version by using Windows PowerShell, use the Update-VMVersion cmdlet. Run the following command where vmname is the name of the virtual machine.
Update-VMVersion <vmname>
Supported virtual machine configuration versions
Run the PowerShell cmdlet Get-VMHostSupportedVersion to see what virtual machine configuration versions your Hyper-V Host supports. When you create a virtual machine, it's created with the default configuration version. To see what the default is, run the following command.
Get-VMHostSupportedVersion -Default
